

-
In Word, Excel, Outlook and PowerPoint for Windows, on the Home tab, select Level of sensitivity. If you remain in Outlook choose Sensitivity when composing an email on the Message tab. Choose the sensitivity label that uses to
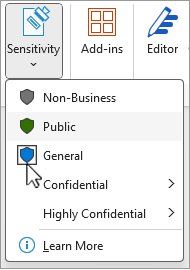
your file or e-mail. Note: You’ll see Find out more if your company has set up a site to
discuss more about their sensitivity labels. Crucial:
Sensitivity is only readily available if: – Your Workplace account is a work account with an Office 365 Business E3 or Office 365 Business E5 license appointed. – Your administrator has configured sensitivity labels and released them to
you. Satisfy the sensitivity bar
The sensitivity bar can be discovered on the title bar of the app next to the file name in Word, Excel, and PowerPoint. Select the button to see the report.
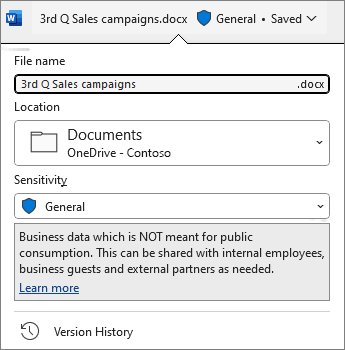
If the file has an existing label, you’ll see it showed there. Select the sensitivity bar or the filename if you require to
alter the label. The sensitivity bar makes it simple for you to see what label is applied to your file, and to use or alter a label whenever you need to, consisting of when conserving the file. Simply choose the sensitivity bar in the conserve dialog to see the labeling choices for this file.
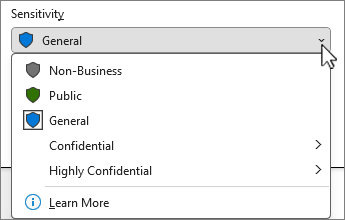
If there’s no label on the file yet, the sensitivity bar informs you if one is required or not. If a label is required, you’ll see the timely Select a label. If no label is needed, the prompt just says No label.
For more information, see New level of sensitivity bar in Office for Windows.
Tips:
-
Unsure what a label is? Hover over the label to see any description your organization has actually contributed to describe it.
-
If you’re an IT Pro looking for information on setting up or managing the level of sensitivity bar, see Manage level of sensitivity labels in Office apps.
Level of sensitivity label restrictions
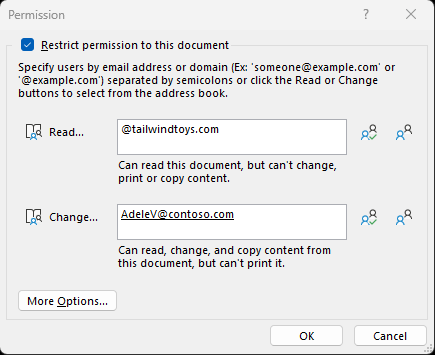
The sensitivity label you choose may come with pre-defined constraints or you might be triggered to pick who can read or change the file. If consents are required, you’ll see a dialog box like this:
If you are utilizing version 2410 or later on, you’ll see a dialog box
like this: Important considerations if you’re giving approvals by domain If you define a domain to approve
consents to, you’re giving those consents to all of the accounts in that organization. That indicates if that company has other domain in their Azure Active Directory (AD) these consents also reach those users. For example, if Tailwind Toys likewise owns the contosogames.com domain in their Azure advertisement then all the users of contosogames.com would also gain the approvals approved to tailwindtoys.com users.
This is also real of subdomains. Giving consents to sales.tailwindtoys.com also grants those permissions to all of the other accounts in tailwindtoys.com, in addition to any other domains they might have in their Azure AD.
-
In Word, Excel, Outlook and PowerPoint for Mac, on the Home tab, select
Level of sensitivity. Select the sensitivity label that uses to your file or e-mail 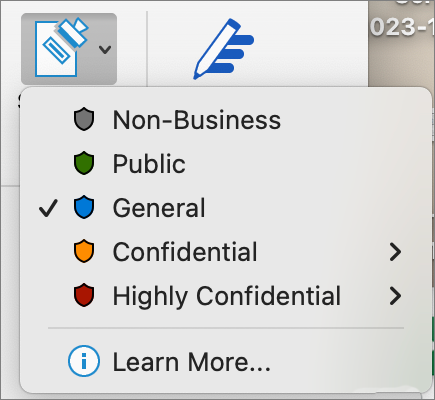
. Note: You’ll see Learn more if your company has configured a site to explain moreabout their level of sensitivity labels. The level of sensitivity label you choose might feature pre-defined restrictions, or you
might be triggered to select who can check out or alter the file. If the label requires you to set your own approvals, you’ll see a dialog box like this:< img src= "https://support.content.office.net/en-us/media/ed1a97bd-b180-40f5-acfc-d7339a264cd5.png"alt="Set consents dialog box"/ > Important: Sensitivity is just available if: – Your Office account is a work account
with a Workplace 365 Enterprise E3 or Workplace 365 Enterprise E5 license appointed. – Your administrator hasn’t set up level of sensitivity labels and made it possible for the feature for you. You can use sensitivity labels to your files and e-mails to keep them compliant with your company’s info protection policies
.


